Are you planning to start a WordPress website of your own?
Congratulations for making a very wise decision. You are about to begin an awesome journey with the world’s biggest website building site i.e. WordPress.
Starting a WordPress blog can sometimes be terrifying, peculiarly if you don’t have any knowledge of coding. Luckily, in the year 2020, making a website has been easier than ever. Anyone without coding knowledge can create their own WordPress website in less than an hour.
Before you started making your website, knowing how exactly each process is done is important. Let’s get started without delay.
Steps to make a WordPress blog
1. Sign up a hosting of your choice
2. Choose your domain of your choice
3. Complete the registration
4. Install the WordPress site
5. Login and setup your WordPress
Neither of these steps demands an in-depth knowledge. Once you Login and setup your WordPress site, you need to go for further steps. Further settings might include adding themes and plug-in, Google analytics tracking, optimizing your site, adding contact form and so on.
Let’s learn initial steps of making WordPress blog in detail:
Sign up a hosting

Did you know that 95% of total WordPress users use WordPress.org? WordPress.org is a self-hosted WordPress that is all free to use. WordPress allows users to customize their design, install some plugins, and also earn money without any restrictions.
But to use these entire features, you need to self-host the website by yourself. In other words, you need to buy hosting to the website and also get a domain name. A domain name is your website’s address on the internet and web hosting is a home/ space for your blog. Basically, one should buy a house to the site.
Every WordPress site needs a web hosting. Internet world provides over thousand web hosting options. Many hosting sites provide the high quality services but they are way more expensive for the beginners. Some other cheap hosting might have reasonable services. Choose a reasonable offer that fits in your budget and buy your hosting.
Select of domain
After getting a web hosting, it’s time to buy your WordPress blog a unique name. You can use any random name that comes to your mind. But it’s wise to use a relatable name that is easy and short. Target your area, use popular keywords, and avoid using numbers and hyphens.
You can either use an .org or .com domain like most of the internet users. Or, get the specialized ones such as .club, .site, .online, tech, etc.
Complete the registration process
One you choose the appropriate domain, you should enter the basic account details in the top section of your hosting/ domain provider.
Get to the Package Information section and pick the one that fits your choice. Choose the best hosting service and add some new add-ons you will need before you fill the information section and complete your purchase. The company will contact you once the registration is completed.
Install WordPress

Now, you need to install the WordPress software to make your webpage live.
After getting a web-hosting, you will receive an email that contains the logging details in the Customer Area. Once you get the e-mail, follow these procedures:
- Follow the link provided in the mail and proceed for the log-in.
- A simple wizard will guide you with WordPress installation procedure on your new site.
- In the My Sites area, launch the wizard that has Create Site button
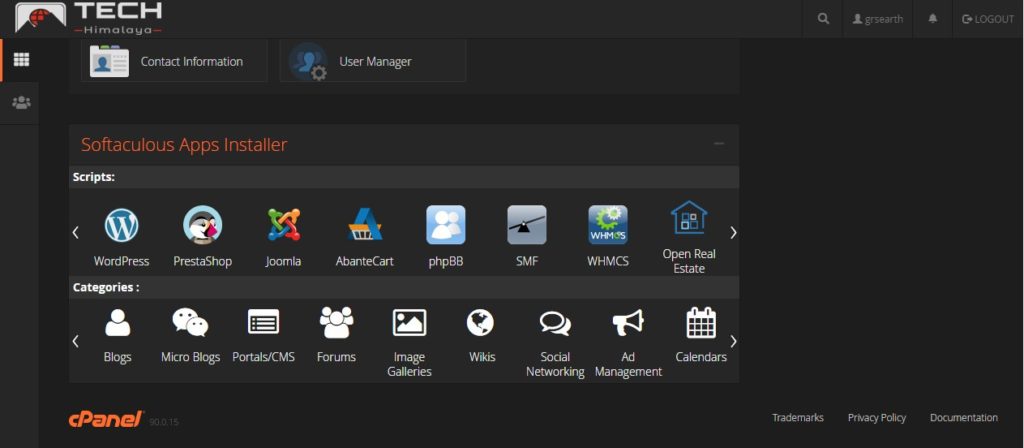
- cPanel has multiple icons for various services. Scroll to get to the website section and click on the WordPress icon.
- Fill important information such as site’s name, username, and your password very carefully. You will need these details for the future.
As your WordPress site is being installed, browse the themes that you like the most (or you can do this later). Once the installation is completed, you can see the success notice in the top header bar.
Login and setup your WordPress

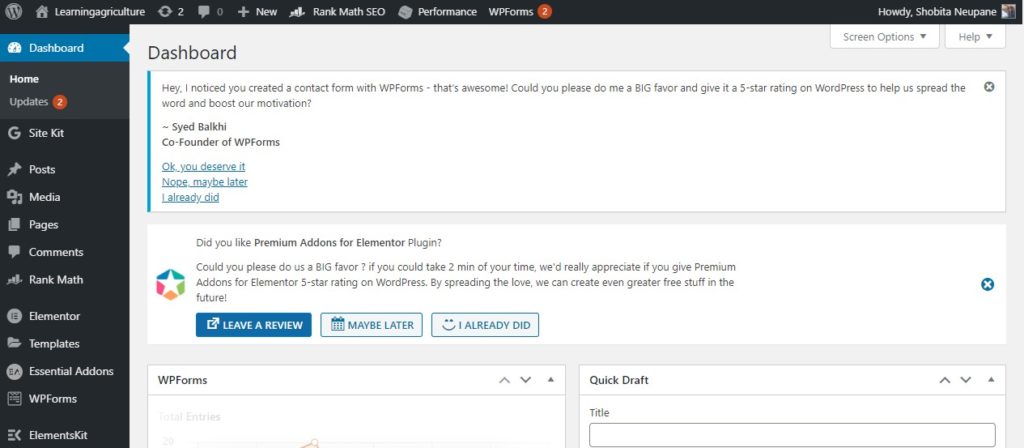
Complete the installation process before logging into the dashboard. You can get access to the website’s dashboard through the link using yourdomain.com/wp-admin.
Follow the login information you used to install WordPress and get to your dashboard area.
Congratulations, you have successfully built your brand new Website. That wasn’t too hard, right?
So, what’s next?
Customize your WordPress blog as per your need. First, you need to find the appropriate theme and install it. It’s better to use a theme that is compatible with Elementor and change the design easily. Write all the necessary information and also Install some plug-in. You will need one of the following plug-ins.
- SEO plug-in
- WPForms
- MonsterInsights
- Constant Contact
- OptinMonster
- UpdraftPlus e.t.c
Then write your 1st post and get started.
TO SUM UP
Creating a WordPress site has never been easier. In 2020, everything is so well designed that all you have to is downloading and installing them. Within a short time frame, you can begin your own WordPress blog.
Best wishes!!


